React Native Events Tracking on GA4

In this guide, we’ll learn how to create and send predefined as well as custom events for GA4 using @react-native-firebase/analytics to build and track any metrics. You can read more about why custom events are helpful in the complete guide here.
Requirements:
- Firebase Account
- GA4 Account
Step 1: Creating a Firebase Account
To set up a Firebase account, follow these steps:
- Go to the Firebase website.
- Choose a project name.
- Enable Google Analytics for your project and continue.
- Select the default account for Google Analytics and continue.
Step 2: Adding Required Libraries to Your React Native Project
To add the necessary libraries, run:
yarn add @react-native-firebase/app @react-native-firebase/analyticsStep 3: Setting Up the Firebase App
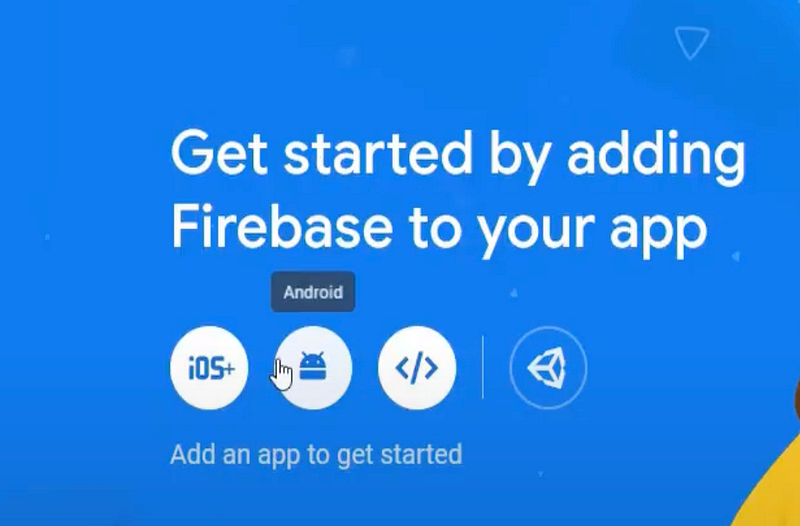
- Open the Firebase dashboard and select Set up your application for either Android or iOS.
2. Provide your React Native app’s package name and click Register.
3. Download the configuration file (for Android/iOS) and place it in your assets folder and complete the rest of the process.
4. Add the configuration file in app.config.js under the Android folder.

5. In app.config.js, add @react-native-firebase/app under the plugins section:
plugins: ["@react-native-firebase/app"],Step 4: Adding Predefined and Custom Events
Predefined Events: These are events already defined in the Firebase Console, and you’ll need to pass data as shown in Firebase.
Custom Events: To create and send custom events, first configure them on the GA4 dashboard, then send them through your code. Below is an example of implementing both predefined and custom events in the code.
import analytics from '@react-native-firebase/analytics';

const App = () => {
 const callLoginEvent = () => {
 analytics().logLogin({
 method: 'facebook.com',
 });
 };

 const sendEventToGA4 = ({ eventName, parameters }) => {
 analytics().logEvent(eventName, parameters);
 };

 return (
 <View>
 <Text>Hello</Text>
 <Button title="Login" onPress={() => callLoginEvent()} />
 <Button title="Purchase" onPress={() => {
 sendEventToGA4({
 eventName: 'purchase',
 parameters: {
 amount: 100,
 currency: "INR",
 item_id: "1234567890",
 item_name: "Test Item",
 item_category: "Test Category",
 }
 });
 }} />
 </View>
 );
};

export default App;
- For creating custom events on Firebase dashboard, go to events > create new
Step 5: Verifying Events
- Run your Android project.
- In the GA4 Analytics Dashboard, check the Real-Time Overview section. You should see your events with their parameters if everything is correctly configured.
Step 6: Debugging
If events do not appear, verify the following:
AndroidManifest.xml:
Ensure you have these permissions in your manifest file:
 <meta-data android:name="google_analytics_default_allow_ad_personalization_signals" android:value="true"/>
 <meta-data android:name="google_analytics_default_allow_ad_storage" android:value="true"/>
 <meta-data android:name="google_analytics_default_allow_ad_user_data" android:value="true"/>
 <meta-data android:name="google_analytics_default_allow_analytics_storage" android:value="true"/>
App > Build.gradle:
Ensure these dependencies are in your app build.gradle file:
// Firebase
implementation "com.google.firebase:firebase-analytics"
Note: If you’re using expo then you can manipulate your build files using custom plugins. See this article on using custom plugins for Meta events.
This setup enables you to track predefined and custom events in Google Analytics for enhanced insights into your React Native app.
Queries and Doubts
Thanks for the read :) Hope you have enjoyed reading it 🤩 and learnt something new today.
If you have any doubts or queries feel free to drop a comment or
⁍ Connect with me on my 🔗Topmate 💬.
⁍ You can also reach out to me on my 🔗LinkedIn.
Please do like this post if you enjoyed reading it 📗 and follow for more interesting articles.
You can also support me and my writings by treating me to a nice virtual cup of coffee ☕️.